 Hywel Llewellyn
Netgear Arlo Home Security Camera Unboxing and Basic Setup
Some Research
Following online research of home security camera options, I had narrowed my choices to Nest and Arlo. One thing I had found was that all cameras pretty much seem to require the user to sign up to a subscription cloud service in order to view recorded video. These services start from £6.49/ month, so this extra cost should be considered when making a decision.
As Arlo currently comes with a free basic service, providing 1Gb storage, 7 days history and up to 5 cameras, this was good enough - even though the camera has a higher initial cost.
Note that the key downsides to Arlo are that there is no microphone or speaker, so you cannot hear or speak, concequently the Arlo may not be the best choice as a baby or pet monitor.
I eventually bought the 2-camera package for £279.99 at PC World Arlo Camera
Also available from Amazon:
Unboxing
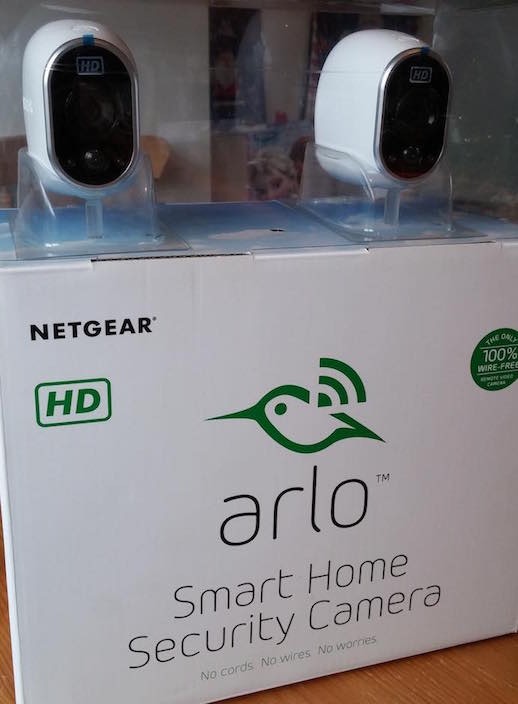
Here is the boxed arlo smart home security two camera system:
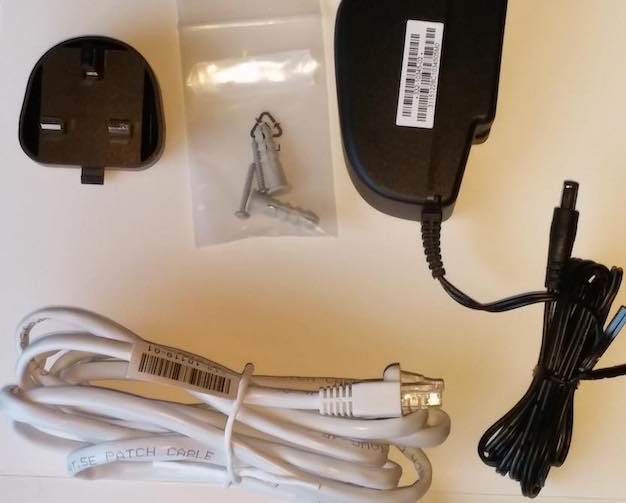
Contents 1
- US power plug with UK and EU adapter
- Ethernet cable
- Wall plugs
Contents 2
- 8 lithium 123 batteries (notice the extra battery compartment for systems with a third camera)
- 4 wall mounts (I thought providing extra mounts was very useful as the rear of the cameras are magnetic and so could easily be moved to alternative mounts as required)

Contents 3
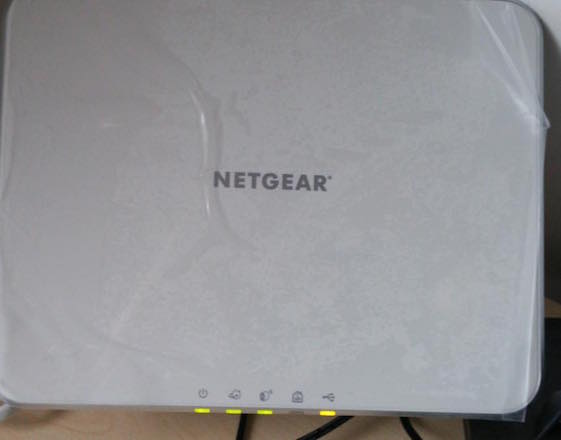
- the netgear base station for the cameras
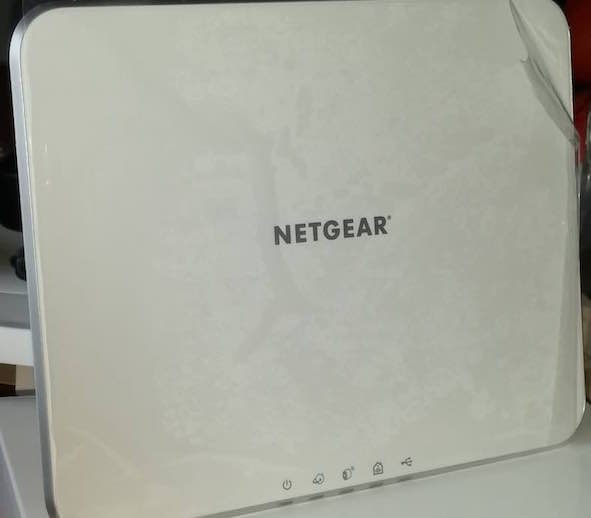
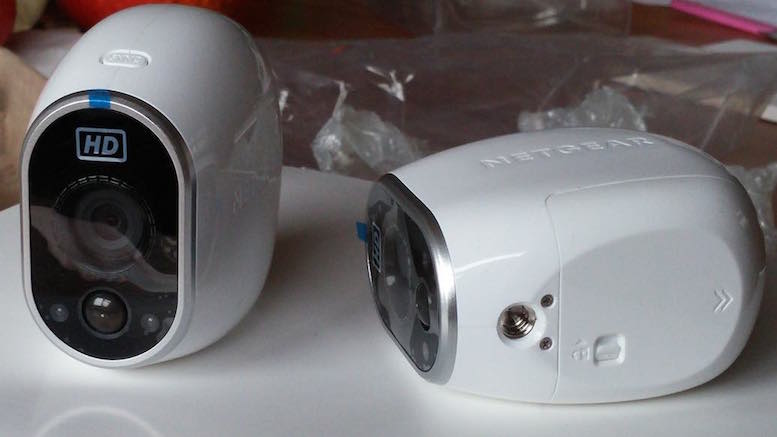
Contents 4
- the two cameras - notice the standard camera mount at the base of the cameras, that could be used as an alternative to the magnetic mount
As there were no instructions included I used http://www.downloads.netgear.com/files/arlo/Arlo_UM_02Oct2015.pdf. The instructions were very clear and it worked…
Connect Base Station to Router and Register Account
Step 1: Connect Base Station to home or work router
So, following the instructions, I connected the base station directly to a free ethernet port on my BT Home Hub 3 and then powered on the base station.
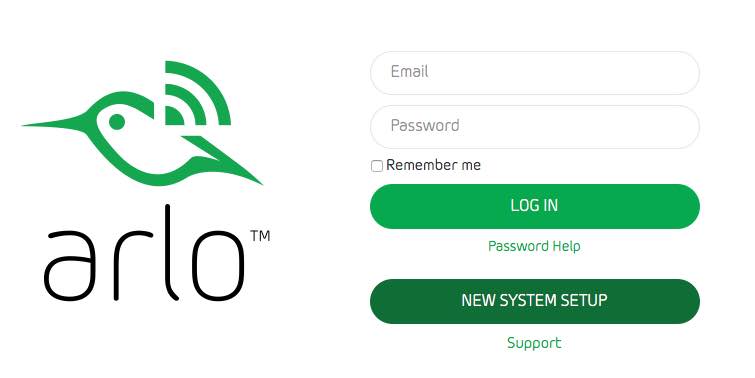
Step 2: Arlo Login Page
Next, was to register an account at arlo.com/login:
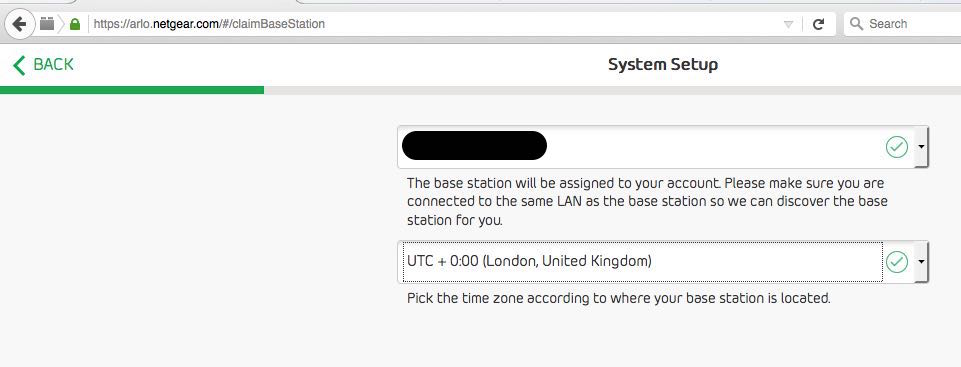
Step 3: System Setup Page
Amazingly, the browser defaulted the base station serial number, I just selected my timezone.
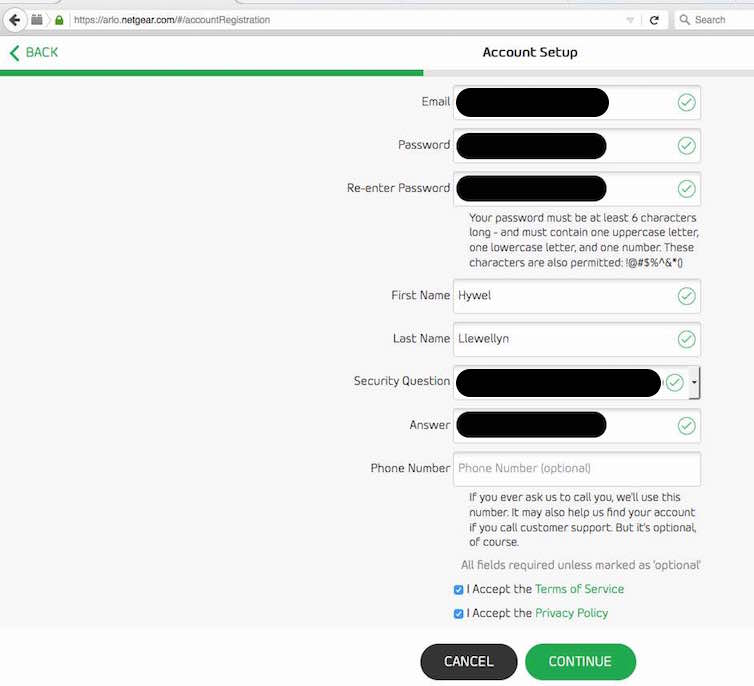
Step 4: Account Setup Page
Just some basic information required for the account setup
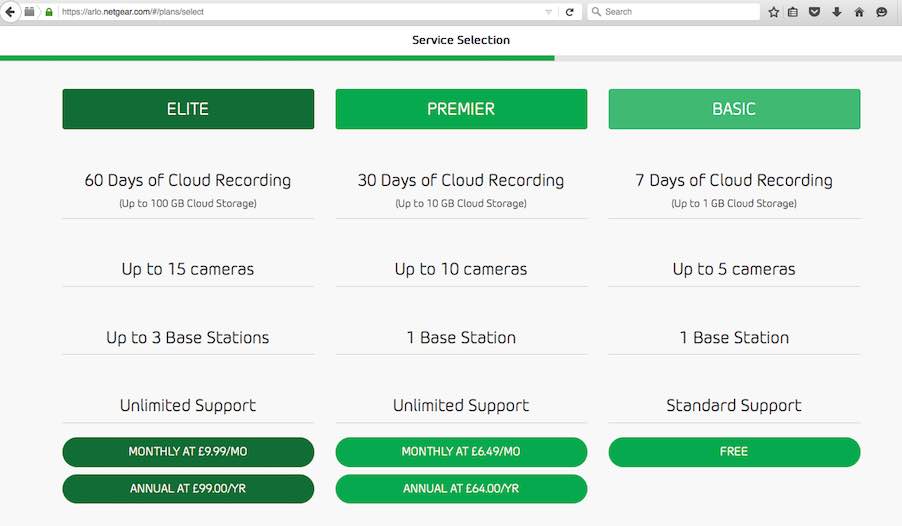
Step 5: Service Selection Page
Next the all important service selection. I selected the free Basic plan.
Sync Cameras to Base Station
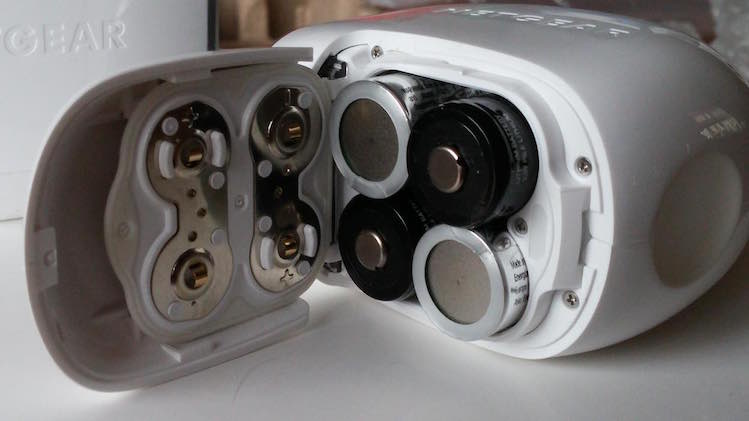
Step 6: Insert Batteries
Slightly tricky to open the battery compartment as there is a lock and it slides out and then hinges up… here are the batteries…
Step 7: Press the Base Station Sync Button
Note that the instructions mention that the sync status LED should light up - it did not for me, though strangely, the USB light lit up… regardless, I continued with the next step
Step 8: Press the Camera Sync Button

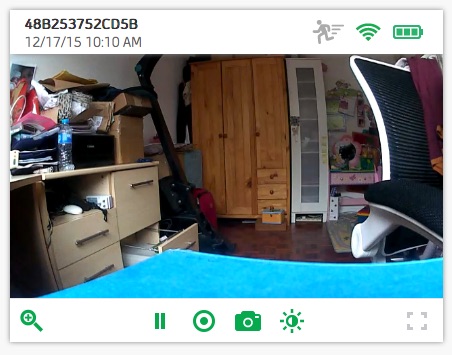
Streaming Video!
I repeated steps 6 to 8 for the second camera
Base Station with Camera Sync Light
That’s it..I will describe some more advanced configuration in an upcoming post. I would recommend these little cameras because of the simplicity of setup and positioning.