 Hywel Llewellyn
Website page with Contact Form using HTML GitHub and Netlify
Why Netlify and GitHub?
This is a step—by-step example showing how to create and deploy a website page with a contact form - from start to finish.
I use the Netlify platform to host many static sites and landing pages, and Netlify’s Forms are great way to gather user responses and includes spam protection for free, with up to 100 submissions per month. Alternative forms providers include un-static, which provides 25 forms per month free, or formspree.io with 50 submissions per month. I prefer Netlify as it provides forms but also a way to host entire static websites using GitHub for free.
GitHub is great as a place to store your site code - not only as it does the usual version control , but the interface is relatively friendly and there is seamless integration to Netlify.
You can think of GitHub repositories as folders to keep files.
If you are new to GitHub, sign-up if you want to follow along.
Step 1 - Create a new GitHub repository
1a - After logging in to GitHub, click on New, next to Repository:

1b - Give the repository a name, note it must be unique:

1c - Click Create repository.

I have used GitHub in a previous turorial on how to create a static site from WordPress
Step 2 - Create a basic HTML page
2a - Click add file, selecting Create new file:

2b - Give it a name of index.html:

This is important as this is a one-page site, Netlify looks for index.html as default.
A basic html page is already coded, which can be used as a starting point.
2c - Paste the code into the file :

2d - Commit changes, in other words, save the file:

Step 3 - Publish the html page using Netlify
3a - Log in to Netlify:
If you don’t have an account then pause this video and sign up. I’ve used GitHub credentials for login.
3b - Select New site from Git:

and then GitHub, where the source code is hosted:

3c - Find the repository created in step 2, select it:

3d - Scroll down and click Deploy site:

This is where Netlify finds the index.html in GitHub and creates a website that is live to the internet.
Step 4 - Change site address
4a - You can see the website address is not too friendly, so click on Site Settings:

4b - Change site name:


Note that it is possibly to use a custom domain, but I won’t cover that in this guide.
4c - Click on the website address:

4d - See the live html page at html-form-example.netlify.app:

Step 5 - Create a contact form
Go to bootstrapformbuilder.com.
5a - Click Add a Text Field:

5b - Change the Title to ‘name’:

5c - Repeat this for ‘email’, and check the ‘required’ option. This validates that any user has entered an email, else you cannot reply!

5d - Add a Text Area so that a user can enter why they are contacting:

5e - Copy the code to clipboard:

Step 6 - Add form to your page with the required Netlify attribute
6a - Click edit this file:

6b - Paste the form code to the website page:

6c - Add data=netlify=“true” to the form element so Netlify defects that there is a form:
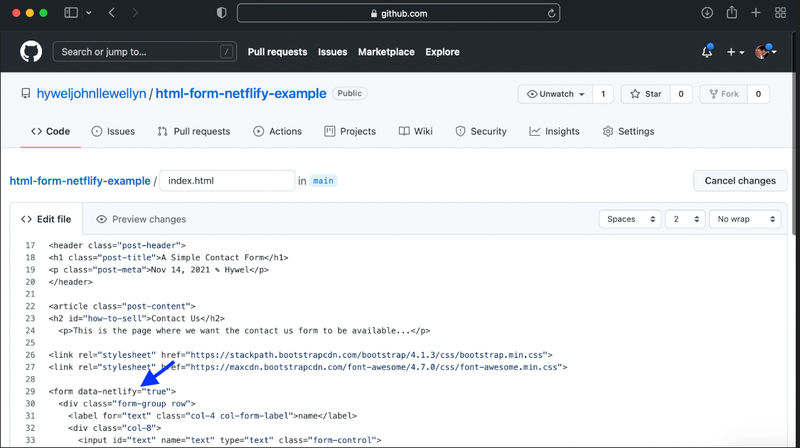 "6c_add_netlify_true")
6d - Commit the change:
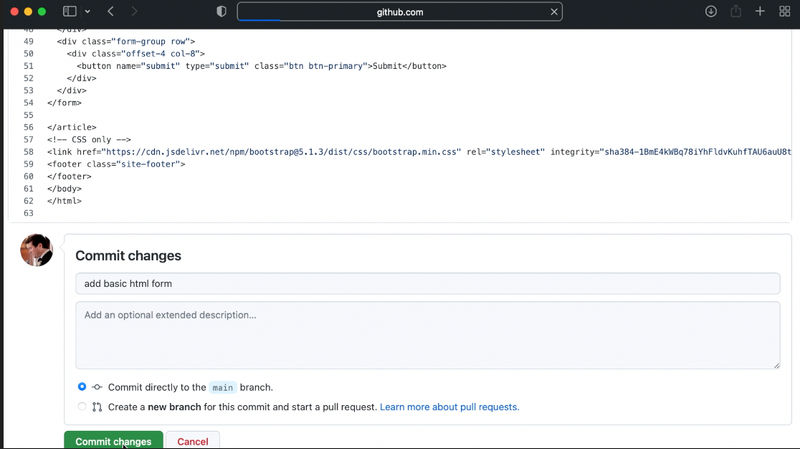 "6d_commit_changes")
6e - Refresh your page in the browser to check the form is there:
 "6e_copy_code_to_clipboard")
Step 7 - Configure Netlify to send email notifications for form submissions
7a - In the Netlify dashboard for the site, click Forms:
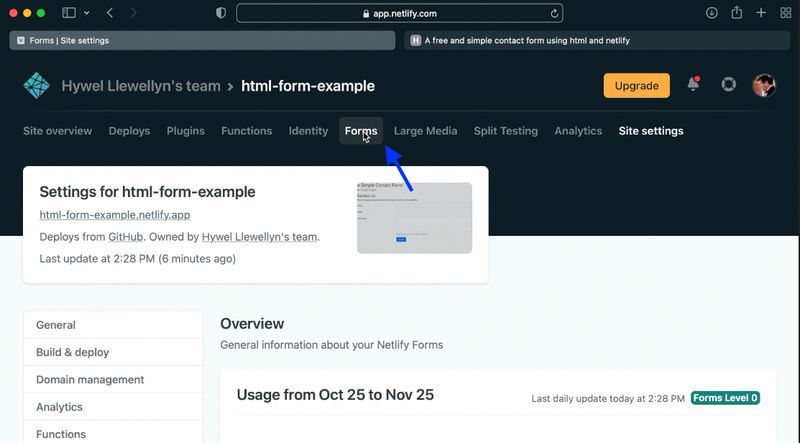 "7a_click_Netlify_forms")
7b - Click Settings and usage:
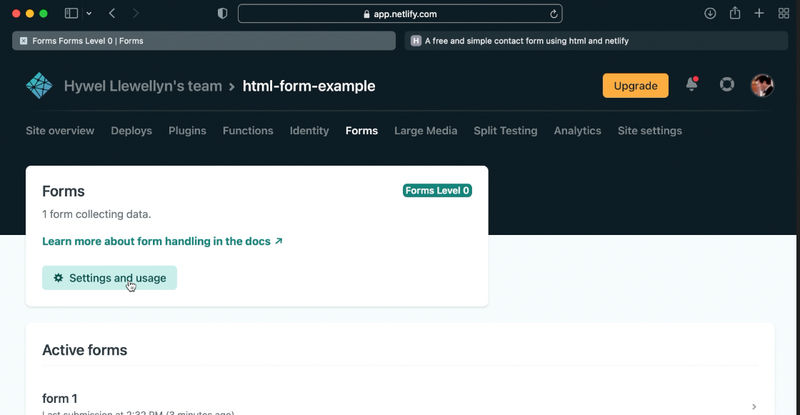 "7b_click_settings_and_usage")
7c - Under Form notifications, click Add Notifications and select Email Notification:
 "7c_add_form_email_notification")
7d - Enter the email address to be notified, usually the owner of the website and Save:
 "7d_enter_email_for_form_notification")
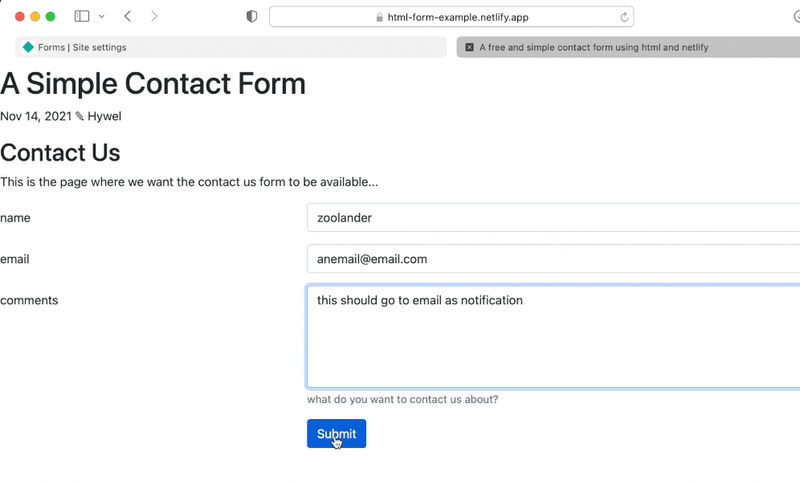
Step 8 - Test the form!
We are done. Refresh the page and enter a form submission:
 "enter a form submission")
You will receive an email to the address given in step 7:
 "8b_received_the_email_notification")
Note that I went back to give the form a name =“contact” to more easily identify the source in the email notifications.
I also later added a recaptcha, for added spam protection.
Thank you for following along.