 Hywel Llewellyn
How to Configure Mac Mail Client for Sending and Receiving Email from Office 365 Shared Mailbox
Microsoft Office 365 for Email
Email is an essential part of managing a small business. In our experience, we found that Zoho Mail was allowing too much spam content through to the inbox, hiding essential emails from clients.
Microsoft Office 365 is a full productivity suite. The business essentials subscription of £3.10 per user per month provides:
- 1 Microsoft Exchange user email account - 50 Gb
- 1 Tb of cloud storage
- Online (cloud) versions of Word, Excel and Powerpoint
- Unlimited Online meetings through Skype
There are several guides to using Office 365 and comparison with other productivity solutions, notably Zoho and Google Apps.
The key reason we chose Office 365 over Google Apps was that we already had a Google Email for the business, but Google would not allow this account to be converted to a Google Apps account.
Setting up a Mac Mail Client for the Shared Mailbox
In this example [email protected] is the active user with an assigned Office 365 license. A shared mail box of [email protected] has been setup through Office 365 Admin. Here are the steps to set up Mac Mail client to receive and send mail using the new shared mailbox.
Receiving Mail
-
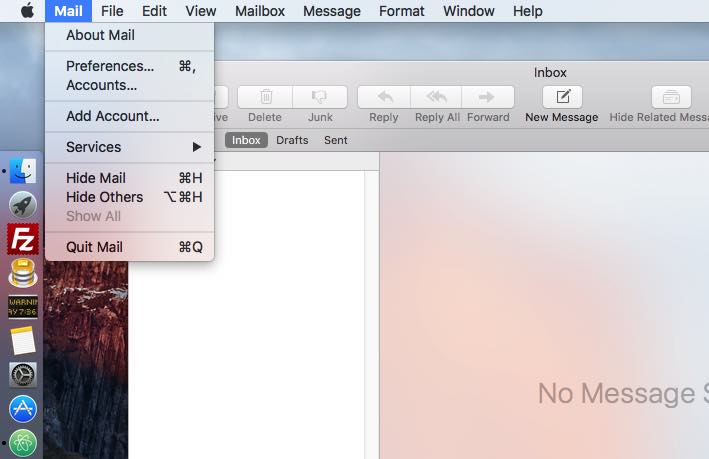
Go to Mac Mail -> Preferences
-
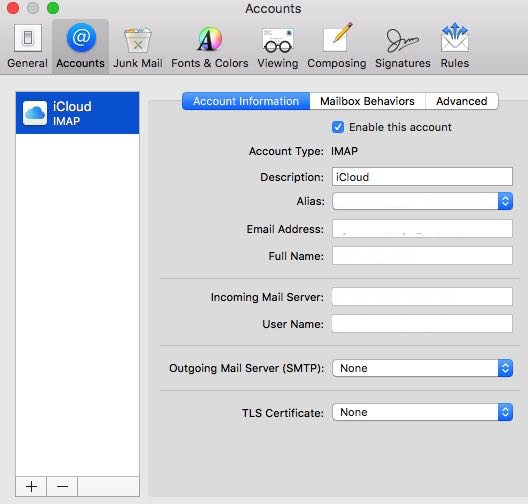
Add new account by selecting the plus icon
-
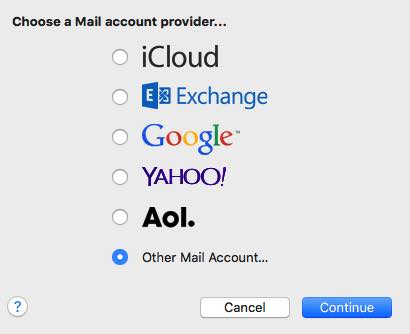
Choose the Other Mail Account radio button
-
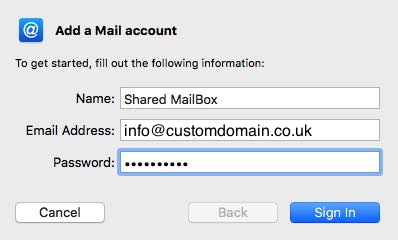
Enter the shared mailbox email address, [email protected] and password of [email protected] (the user with an assigned Office 365 license)
-
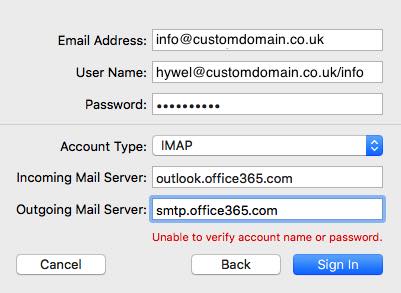
Don’t worry if you see the error Unable to verify account name of password. Enter the following:
Email Address: [email protected] (the shared mailbox email address)
User Name: [email protected]/info (the user email address with the shared mailbox name after a trailing slash)
Account Type: IMAP (POP is available, but I prefer IMAP)
Incoming Mail Server: outlook.office365.com
Outgoing Mail Server: smtp.office365.com
-
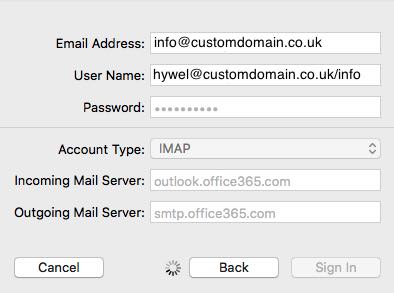
Click ‘Sign In’ button and then select ‘Mail’ as the app to use

-
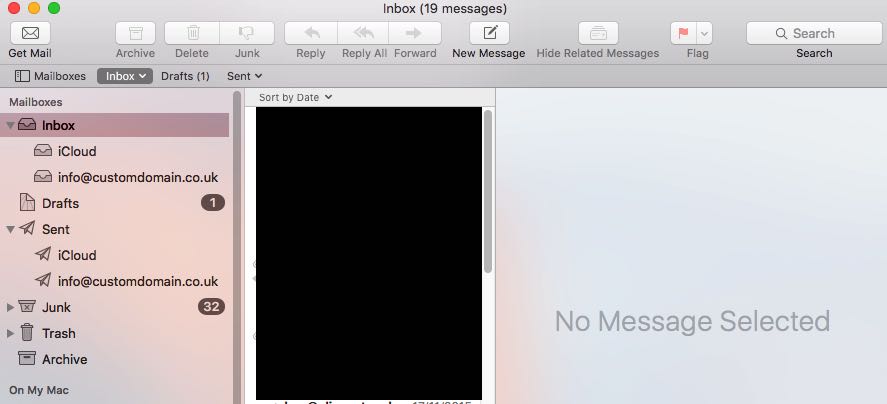
Your new Shared Inbox is ready and should be receiving email
Sending Mail
-
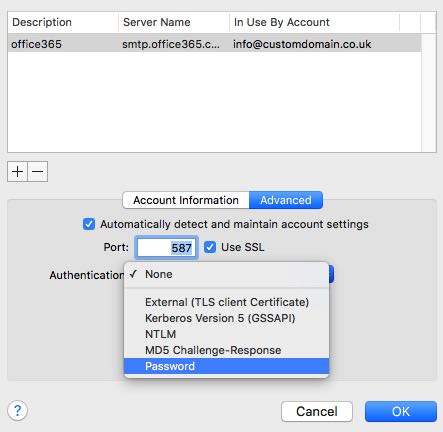
Go to Mac Mail -> Preferences and under Outgoing Mail Server (SMTP) select Edit SMTP Server List…
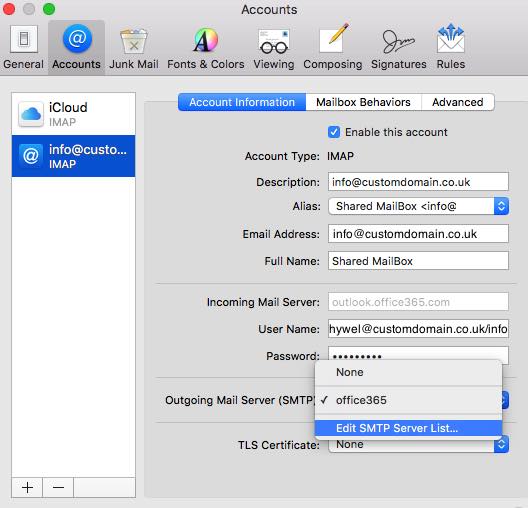
-
Select Advanvced button and under Authentication select Password
-
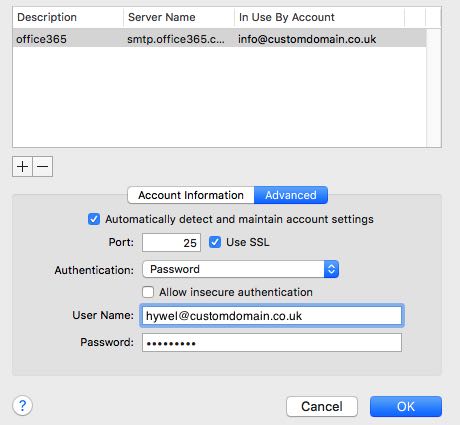
Set Port to 25 and enter:
User Name: [email protected] (the user email address)
Password: the user’s password
All done, you should now be able to send and receive email using the shared mail box.