 Hywel Llewellyn
Moving a WordPress site from GoDaddy to DigitalOcean - Part 2
Create the Site
22 April 2023 - Update - I have just moved to DigitalOcean App Platform, click to read.
In my previous post, I described why I wanted to move my site from GoDaddy to DigitalOcean.
I will describe how I moved an existing site from GoDaddy to DigitalOcean hosting via ServerPilot.io. The steps to install and migrate WordPress content and database to DigitalOcean. Finally, moving the domain name server to DigitalOcean.
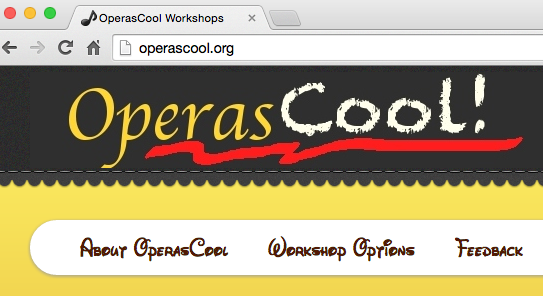
The site I am moving is operascool.org.
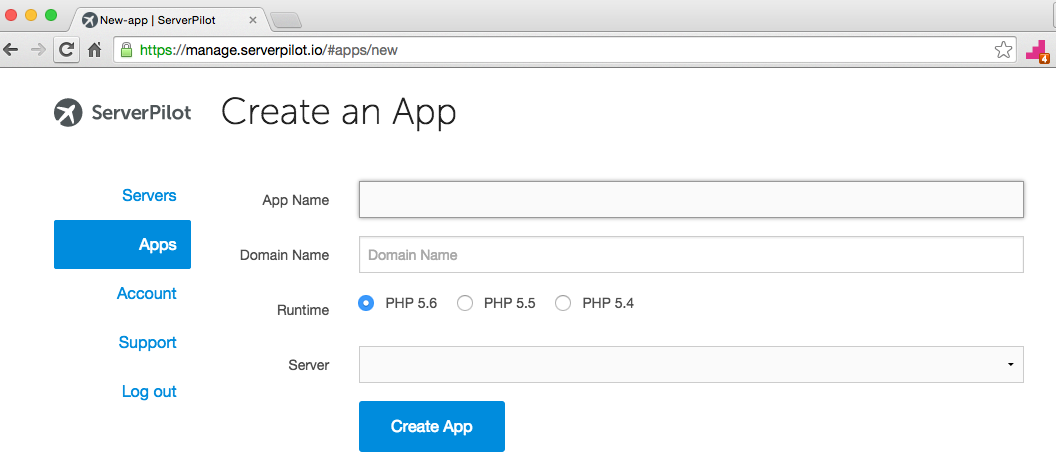
On my DigitalOcean server I use ServerPilot.io to manage the server as mentioned in part 1 of this blog.
So login to the ServerPilot.io account and create a new app called operascoolorg
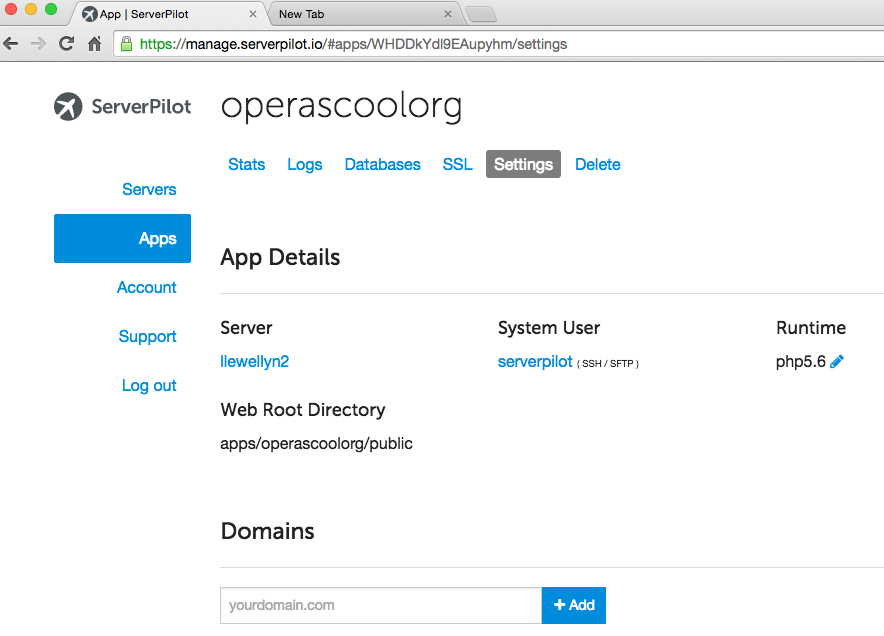
This creates a new public folder for my new operascoolorg app.
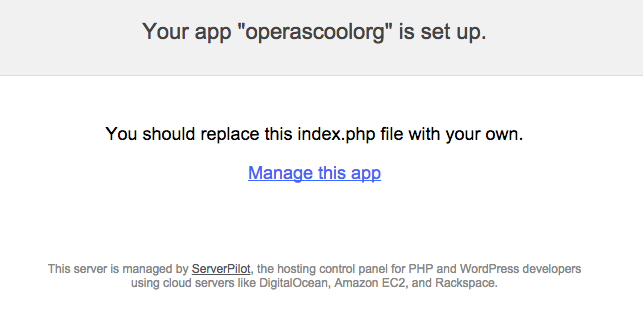
and it is instantly available on the web:
Migrate WordPress Folders
Next, SSH to the apps public directory on the DigitalOcean server. My app is located in apps/operascoolorg/public folder.
Then download the latest Wordpress version using the following:
wget https://wordpress.org/latest.tar.gz
tar xzf latest.tar.gz
mv wordpress/* .
rm latest.tar.gz
rmdir wordpress
Browsing the sites domain URL will show the WordPress installer:
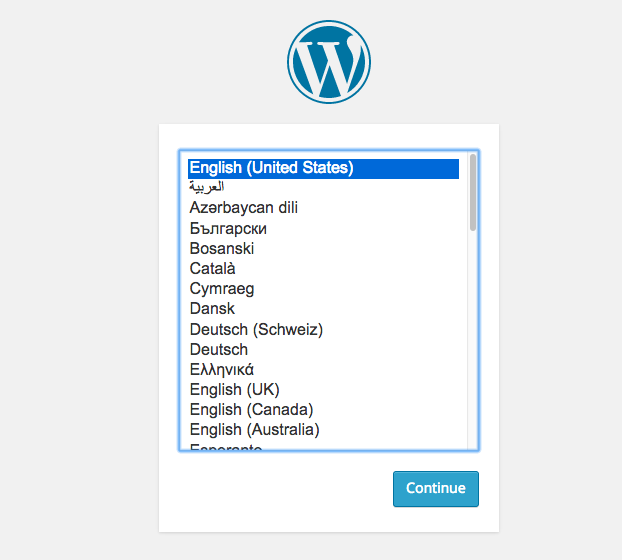
As I am migrating an existing WordPress site, I am not going to continue with the install.
Now, using Filezilla, download the operascool WordPress files from GoDaddy to a local folder on my Mac.
The only content that I want to keep from the GoDaddy server are in the wp-content folder: a custom theme “wpcartoons” and the uploads folder with the images for the site.
Again using Filezilla, I upload these folders to the wp-content folder on the DigitalOcean server:

Migrate WordPress Database
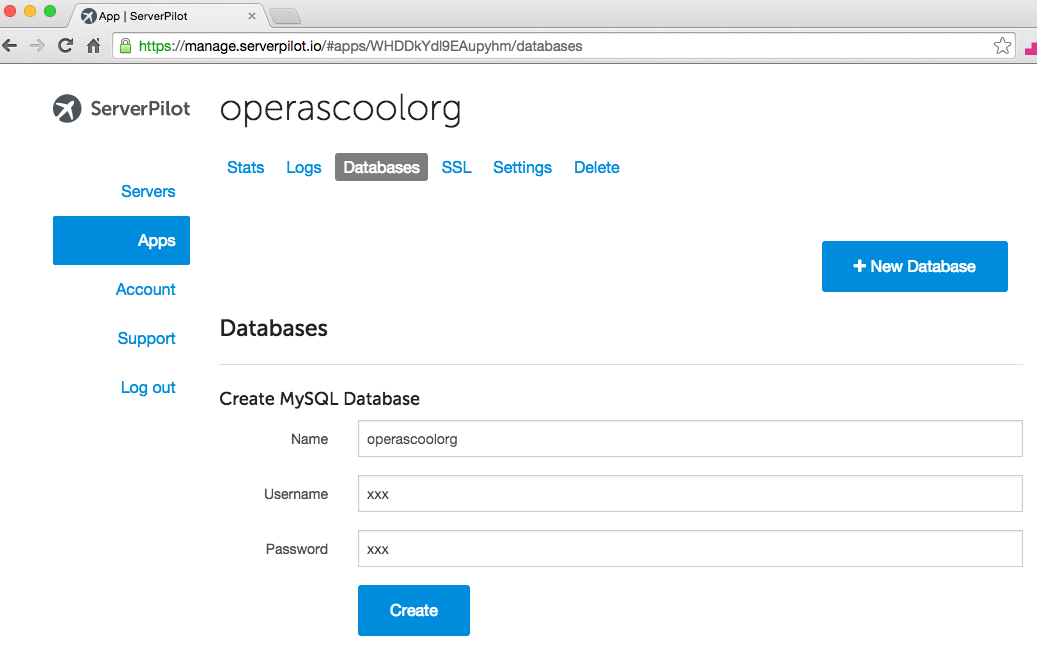
Going back to ServerPilot.io, a database is created for the operascoolorg app.
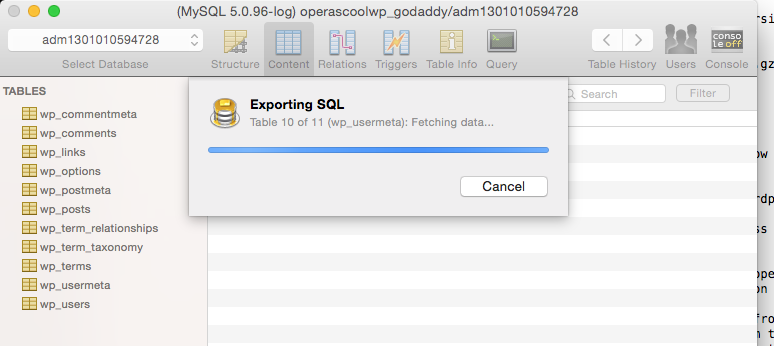
Using my favorite MySQL database software SequelPro, I export the database from GoDaddy and Import to the newly created operascoolorg database.
Whilst still in SequelPro, I need to update the post id’s as they have moved folder location (you may not need to do this):
update wp_posts set guid = replace(guid, 'http://operascool.org/operascoolwp/','http://operascool.org');Now we need to update the database credentials in the WordPress config file.
SSH back to to the apps public directory on the DigitalOcean server and type the following:
mv wp-config-sample.php wp-config.php
nano wp-config.php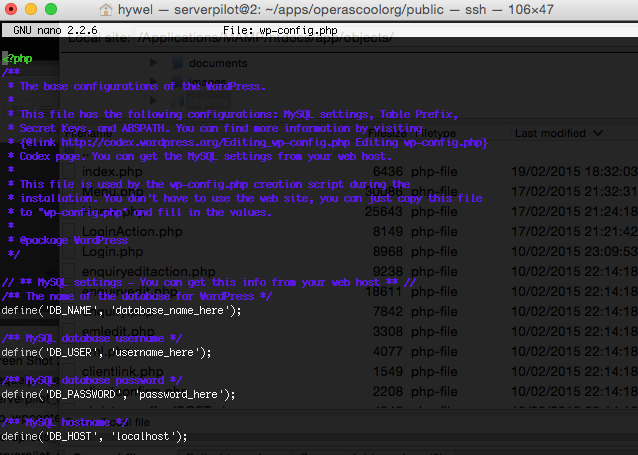
This will allow me to update the database configuration to that created by ServerPilot.
define('DB_NAME', 'database_name_here');
define('DB_USER', 'username_here');
define('DB_PASSWORD', 'password_here');
define('DB_HOST', 'localhost');
Note that the localhost for my server is 127.0.0.1. Save the file.
Move Domain Name Server to DigitalOcean
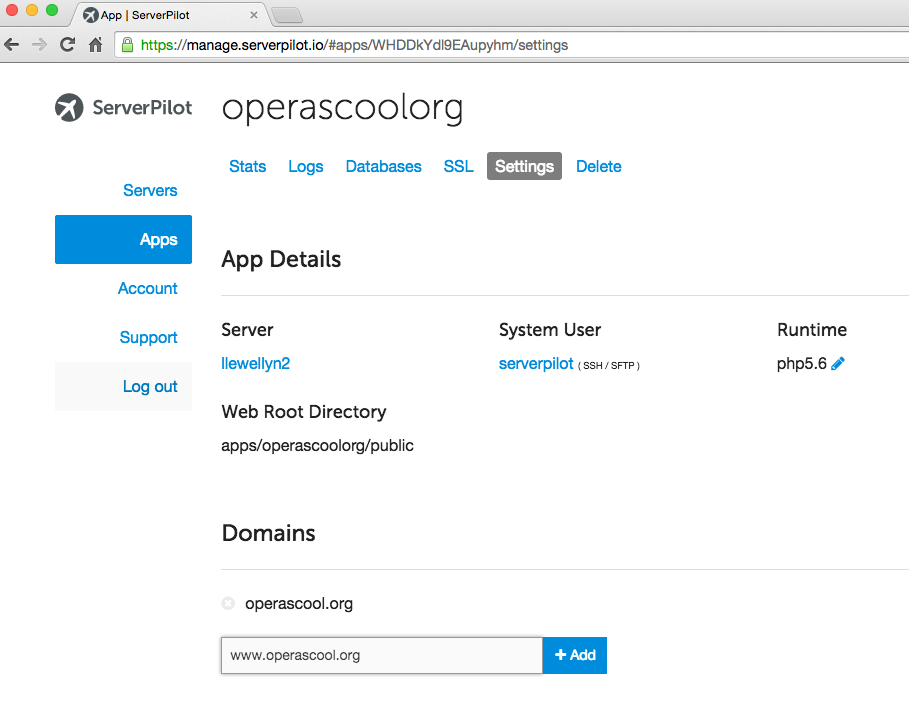
Firstly, I will add the operascool.org domain to my operascoolorg app in ServerPilot.io:
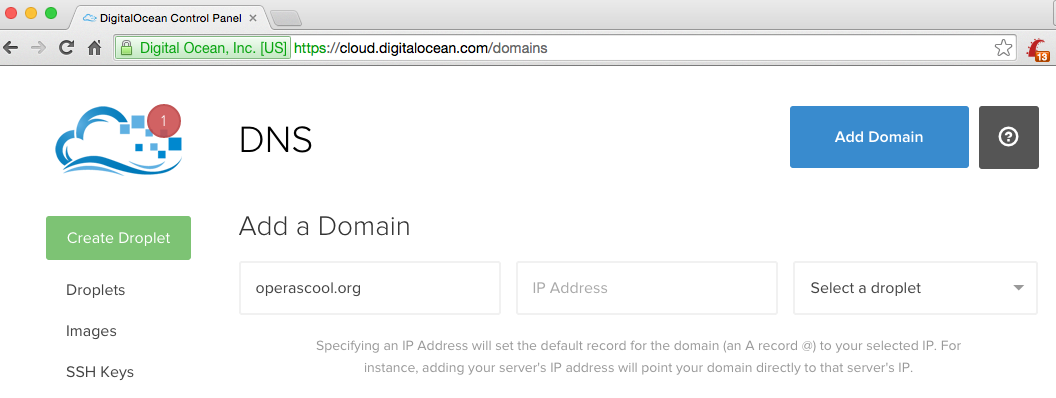
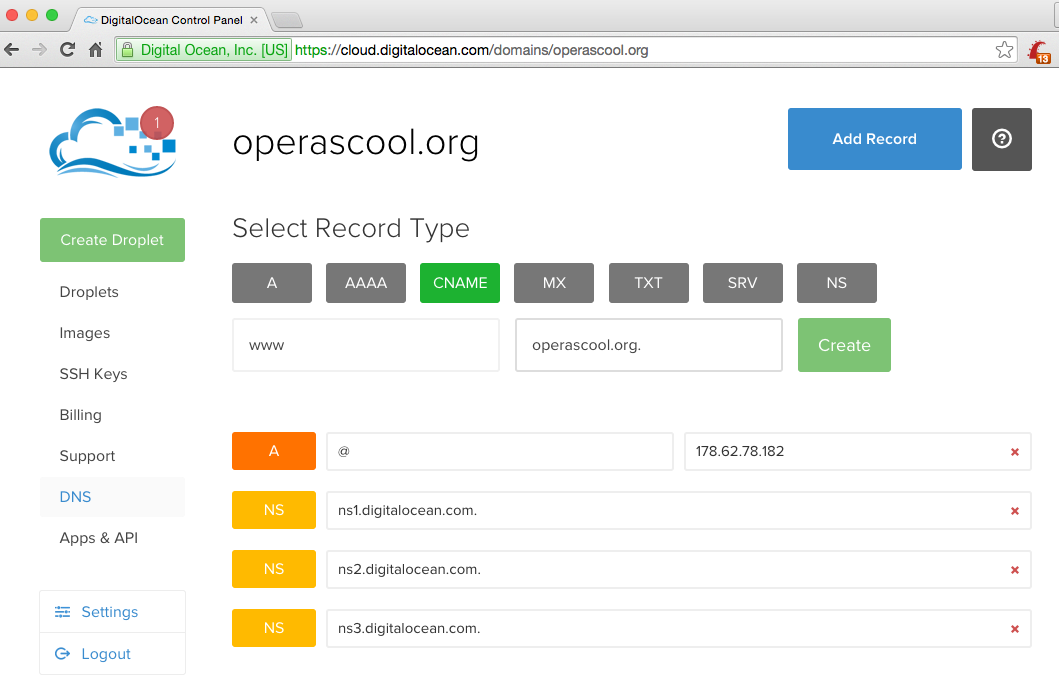
Now to add the operascool.org DNS to my DigitalOcean server:
and for good practice add the www. CNAME - remembering to put the ending dot in operascool.org. else it won’t work.
Login to the GoDaddy account and go to the operascool.org Domain settings to manage the Nameservers:
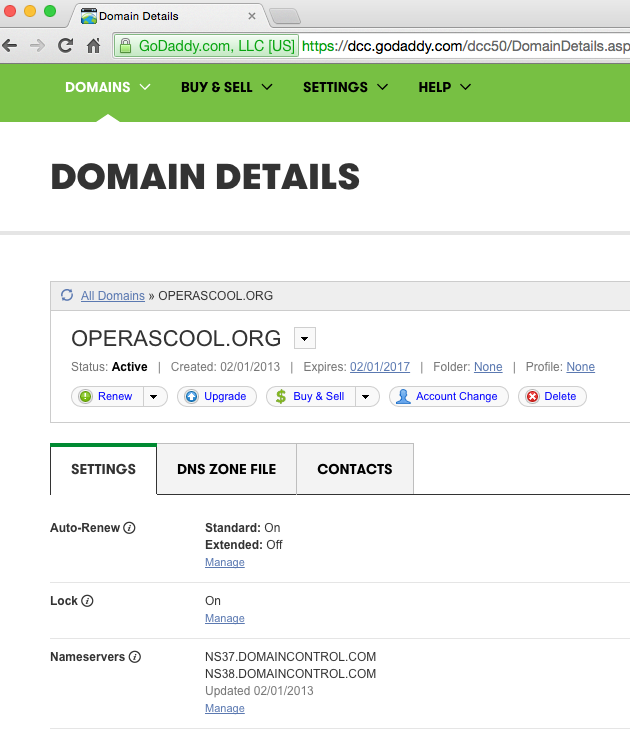
Select Custom and enter the DigitalOcean domain servers:
ns1.digitalocean.com
ns2.digitalocean.com
ns3.digitalocean.com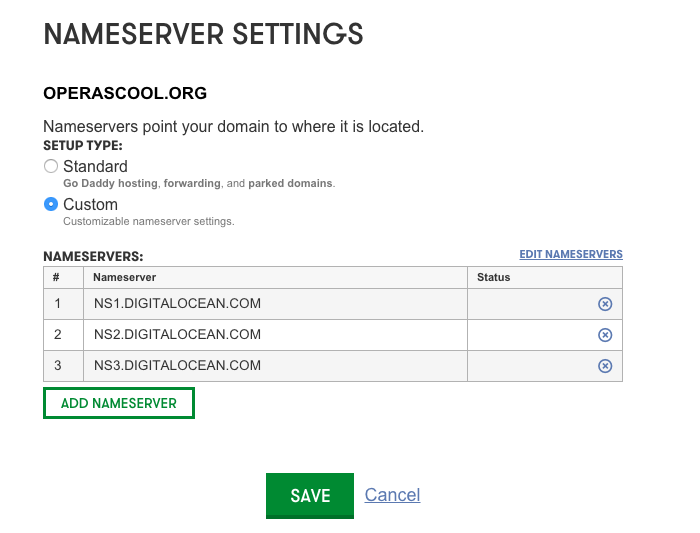
Wait the usual time for the details to propagate across the world.
Lastly, I synchronise the file from the DigitalOcean server to my local Mac as a backup:
rsync -avP [email protected]:/srv/users/serverpilot/apps/operascoolorg/public/ /Users/Hywel/operascoolorg/publicThat is it, for now. In my last post in this series, I will add the site to CloudFlare CDN.
More details on Creating DigitalOcean droplets and ServerPilot.io accounts can be found at this useful blog by Pascal Becker