 Hywel Llewellyn
Free Office 365 Email Service for Secondary - Multiple Domains - Part 2 Configure Exchange Shared Mailbox for Additional Domain
Free Outlook Email for Secondary or More Domains in Office 365
In my previous post I described how to Configure CloudFlare DNS for an Additional Domain to use Office 365 for email. If you already have a domain that is licensed for Office 365 services, then there is an option to configure additional domains for email using the shared mailbox feature. The email for these extra domains do not require new user licenses and so are Free.
In this post I will describe how to configure the Office 365 shared mailbox for a an additional domain, effectively giving a free Office 365 email service.
Steps 1 to 7 from Part 1 cover setting up the Office 365 DNS for email on the DNS Host. As this is a continuation, I will start with Step 8.
Step 8: Add the Basic Exchange Shared Mailbox for the New Domain
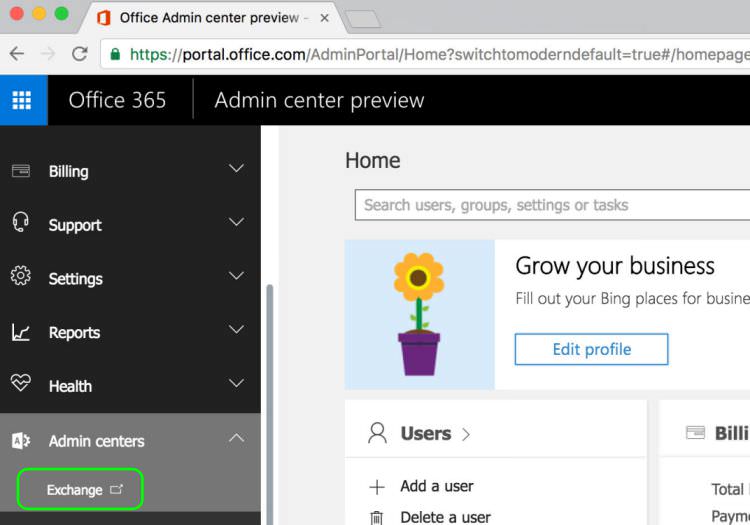
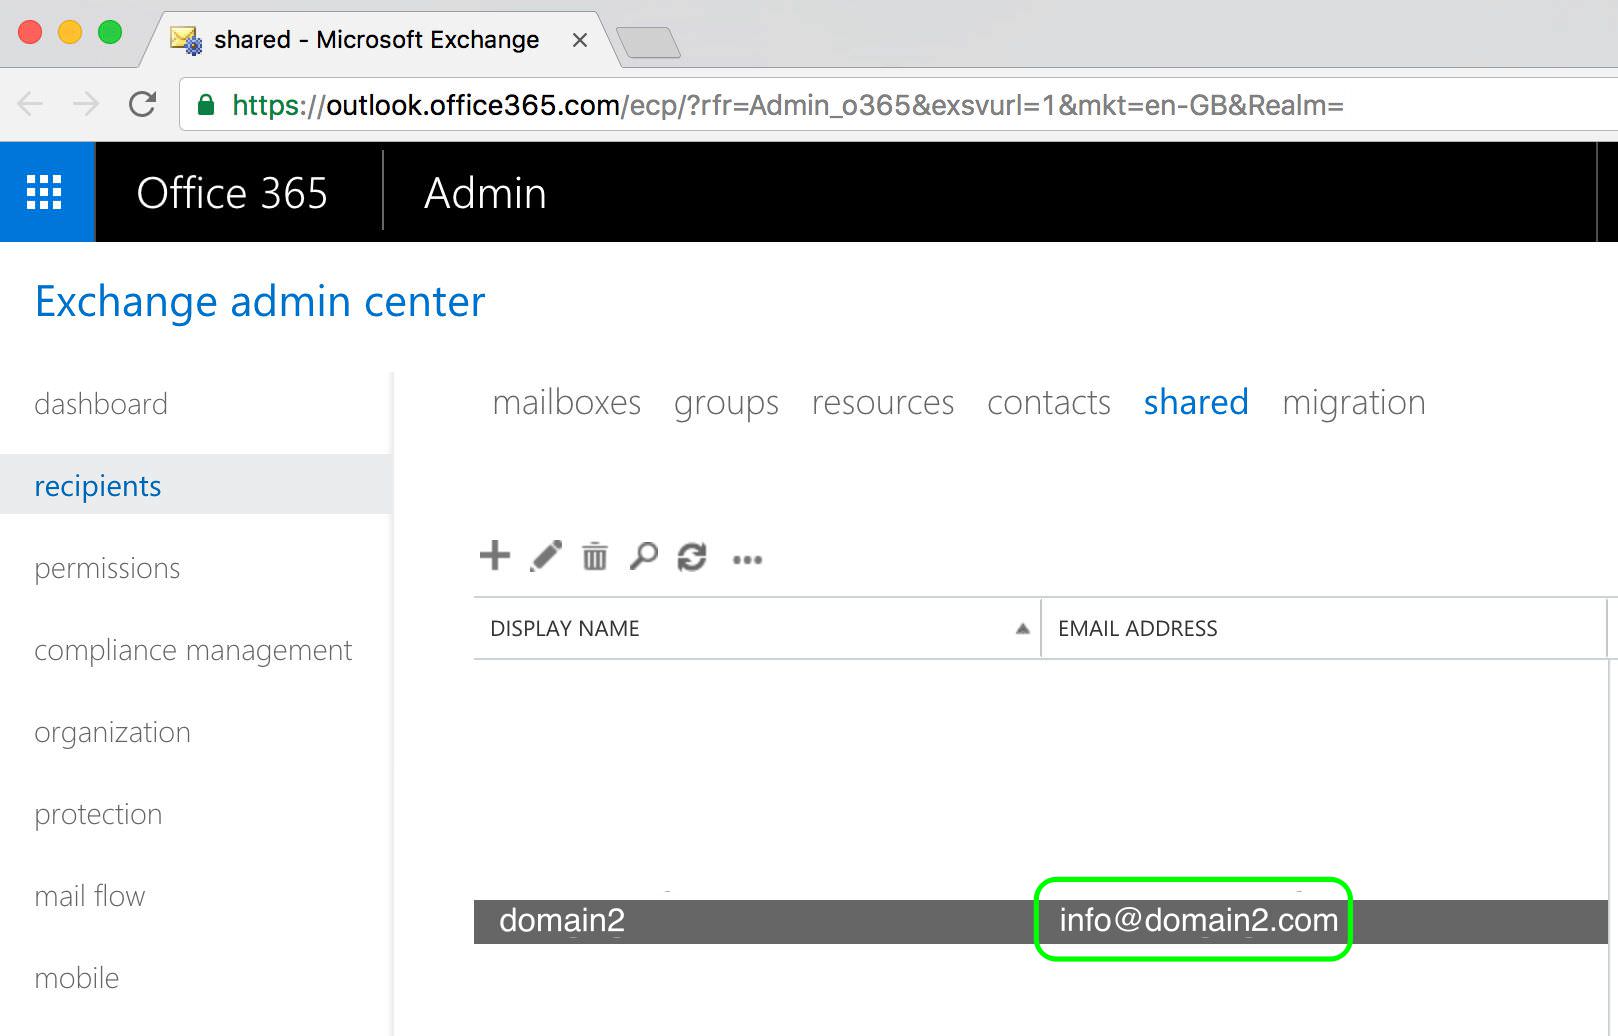
8.1 Under Office 365 Admin Centre, Click Exchange (login from step 2.1)
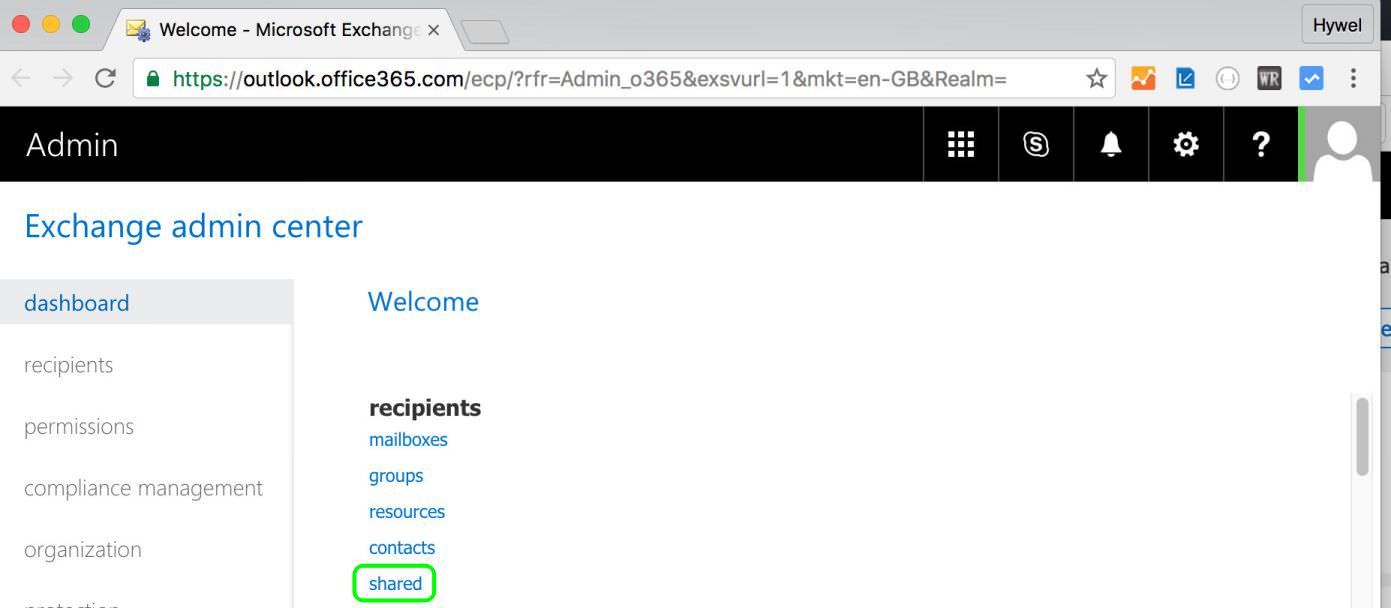
8.2 Click Shared under Recipients of Office Exchange Admin
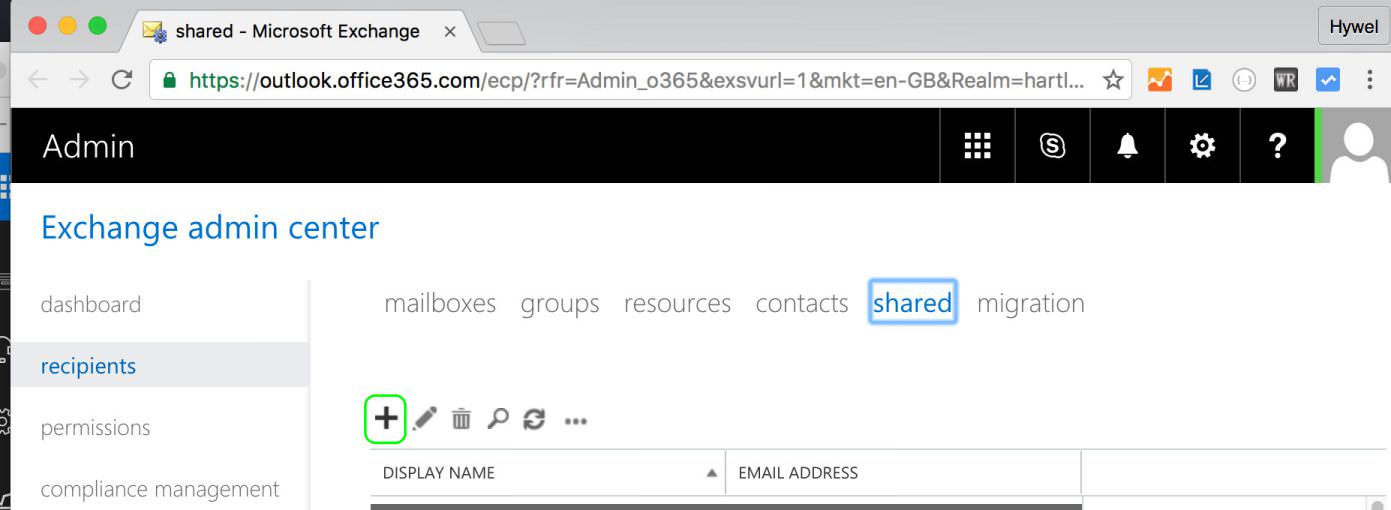
8.3 Click the plus + icon to add a new Shared Mailbox
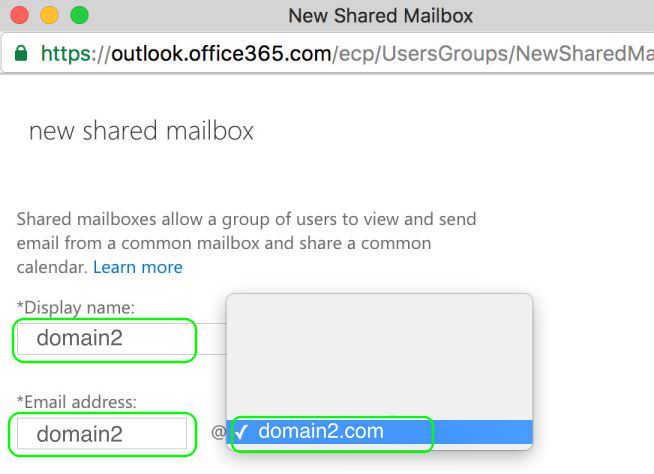
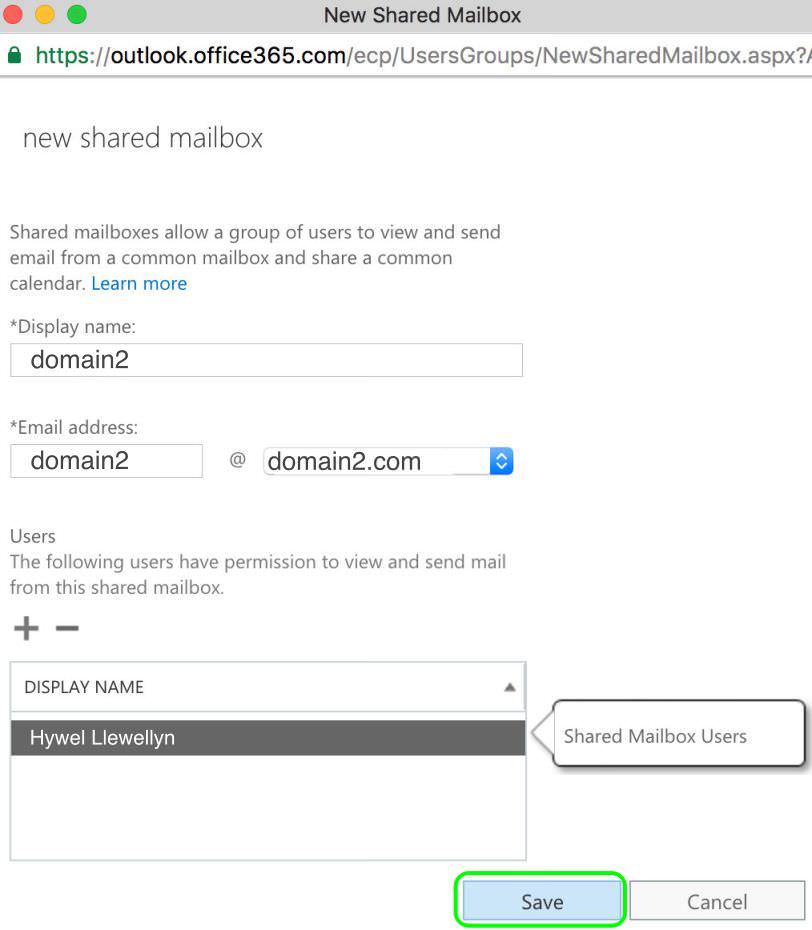
8.4 Enter the Display Name and Email Address for the new Domain Name domain2.com
Note that the primary/ licensed domain for this tutorial is customdomain.com. The name given for the new domain, before the @ sign should be unique even for the primary domain.
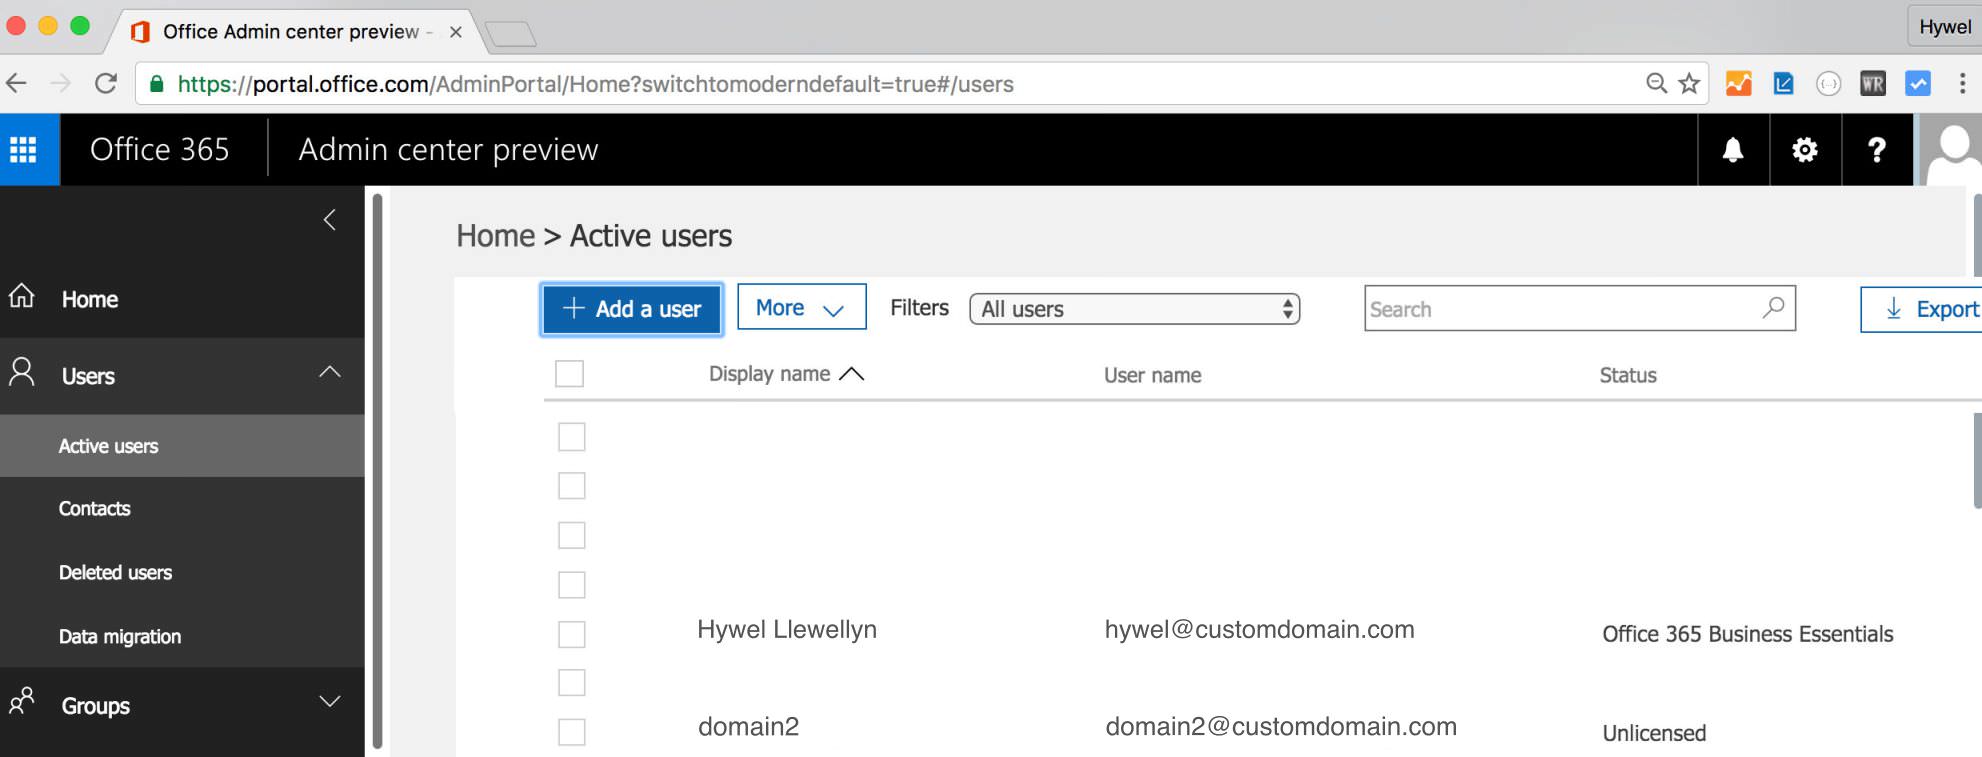
The simplest option is to use the name of the second domain as the shared mailbox email in this step. Therefore I will use [email protected] as the email address. Note that this step will also create a new Active user of [email protected].
8.5 Click the Plus + icon to add existing to access this new Shared Mailbox
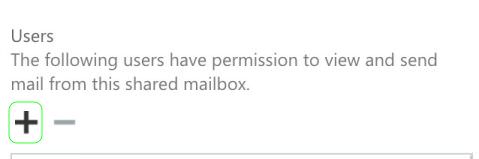
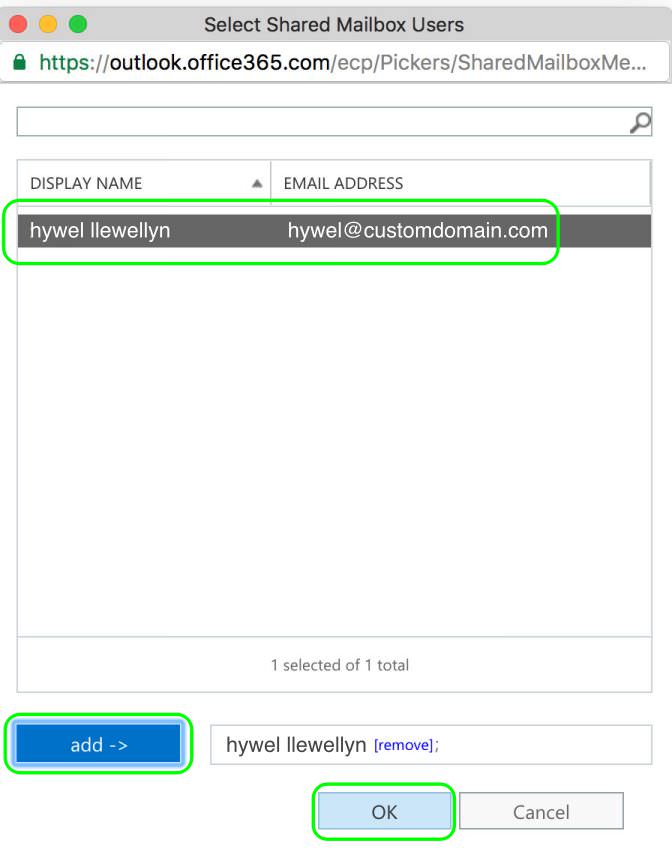
8.6 Select Shared Mailbox Users, click Add and then click OK
8.7 Click Save to add the New Shared Mailbox [email protected]
Step 9: Edit the Shared Mailbox for the New Domain
I want to use this domain email as a catch all email [email protected], rather than [email protected]. I can now update the email for this shared mailbox.
9.1 Highlight the new Shared Mailbox and click the pencil icon to Edit
9.2 Click email address for the domain2.com shared mailbox
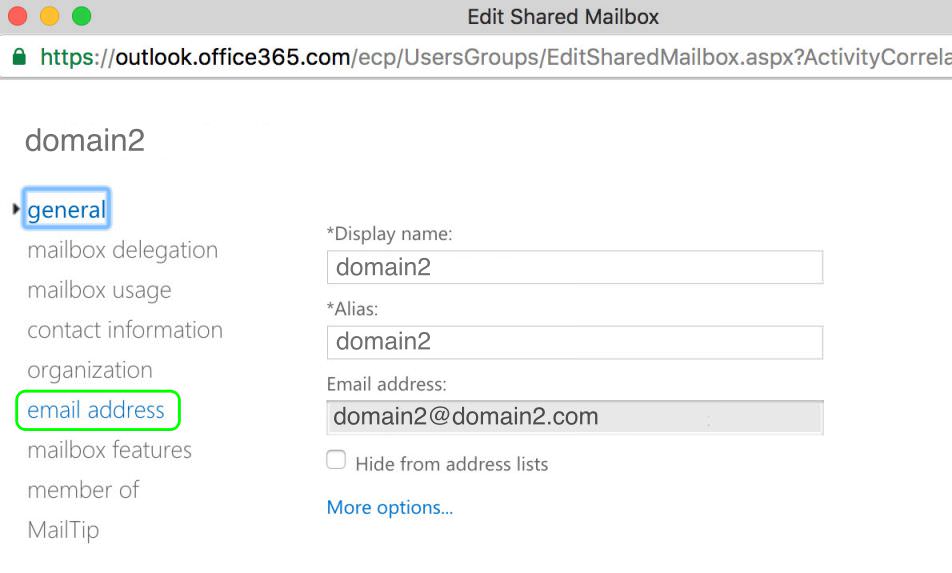
9.3 Ensure that [email protected] email is highlighted and Click the pencil icon to edit

9.4 Update the email address from [email protected] to [email protected] and click OK

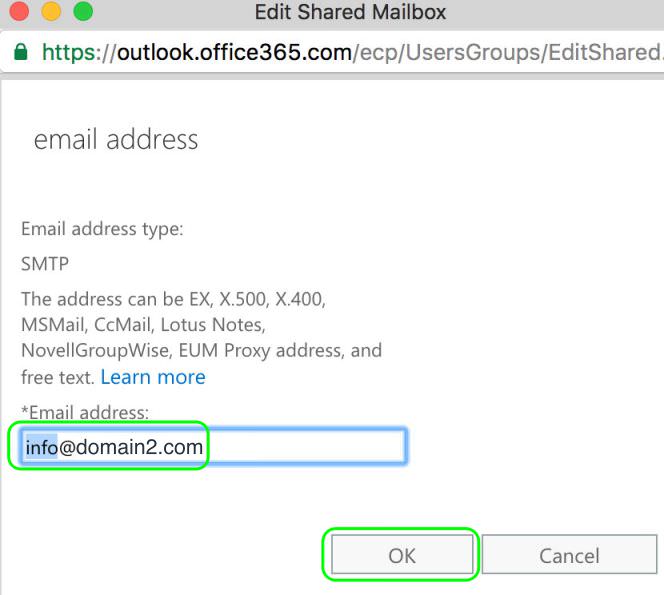
9.5 Click Save to confirm the shared Office 365 email
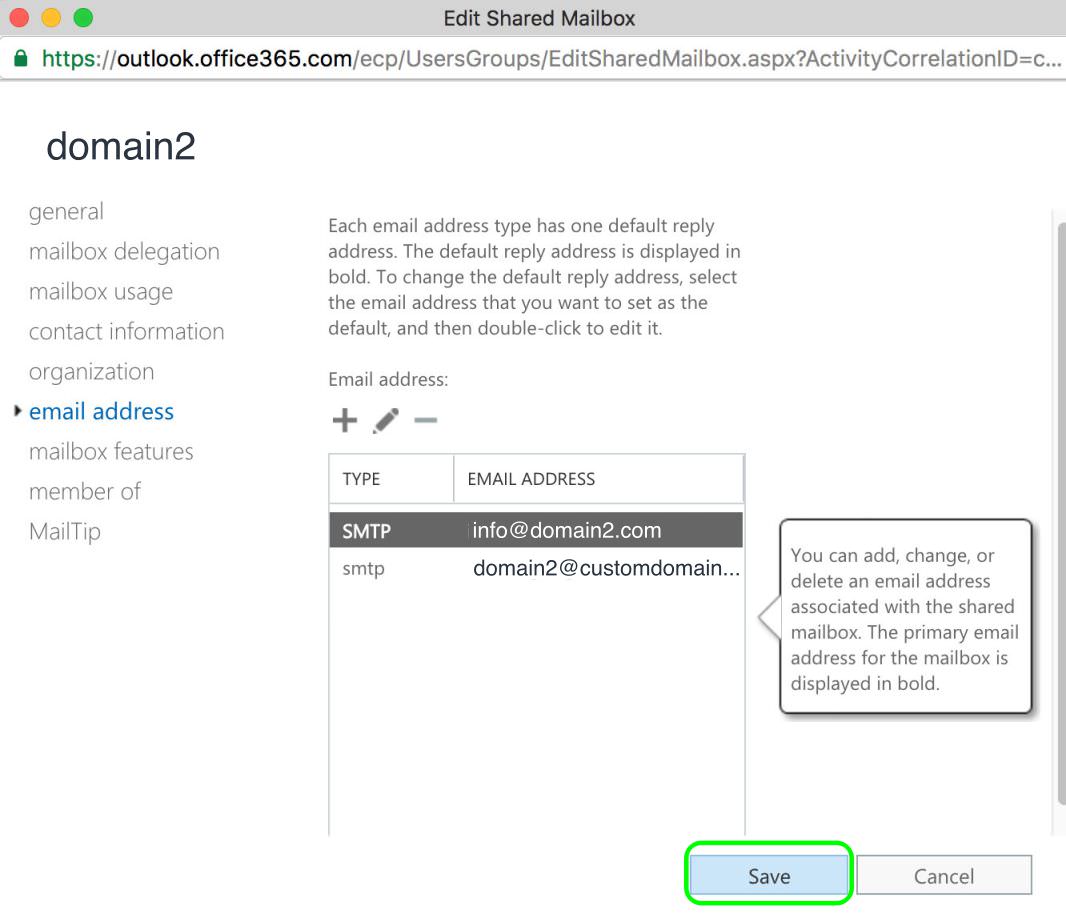
The Shared Mailbox email is now [email protected] and there is a [email protected] active user
Summary - Free Office 365 Email Service for Secondary, or More Domains
Together, Part 1 and Part 2 of this tutorial, show how to add secondary, or more additional custom domains to Office 365 and use the outlook email service for free*. As long as you only need a relatively basic catch-all type email for the additional domain.
* note that you still need at least one licensed Office 365 account
You may also find my other Office 365 tips useful: